Sleeping outside in a primitive survival shelter with no tent and no sleeping bag?! In the rain? Are you crazy?
This idea may indeed seem crazy and a bit daunting to many of us. However, with a couple of hours, proper materials, and the right mindset, constructing and sleeping in a primitive survival shelter can be a life-changing experience. Although there are many types of group and individual primitive survival shelters, at Wilderness Awareness School, we often begin by teaching our students how to build a survival shelter called a debris hut. These structures are fairly easy to construct and can be a warm, dry place to spend the night.
First of all, location is key. Aside from the normal criteria which includes avoiding low spots, steering clear of standing dead trees, etc….proximity to materials can save a lot of time and energy. Take the time to find a spot that feels right.
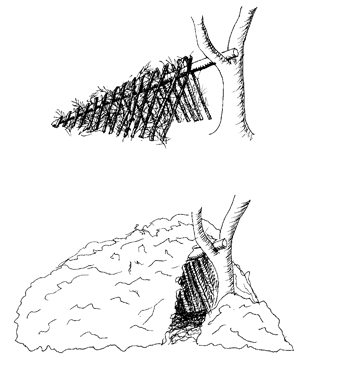
For construction, the first thing you’ll need to build a survival shelter is a strong ridgepole that is at least a little taller than you are with your arm stretched above your head. You’ll also need something for one end of the ridgepole to securely rest on—a stump, boulder, the fork of a tree, or some kind of prop. The other end rests on the ground. At the high end, the ridgepole should be at about hip height.
Once your ridgepole is in place, you’ll need ribbing. Lean the ribs against the ridgepole fairly close together leaving a door at the high end. Once ribs are in place, crawl inside feet first checking to see that you have a little room to move, but that it is still snug and cozy. If your survival shelter is too big, you will have trouble staying warm. Imagine you are making a sleeping bag out of natural materials!

Next, add a layer of lattice, something to act as a net to hold debris in place when it is piled on next. Brush and twiggy branches may work well. The debris that you have available can help determine how small the spaces in your lattice can be.
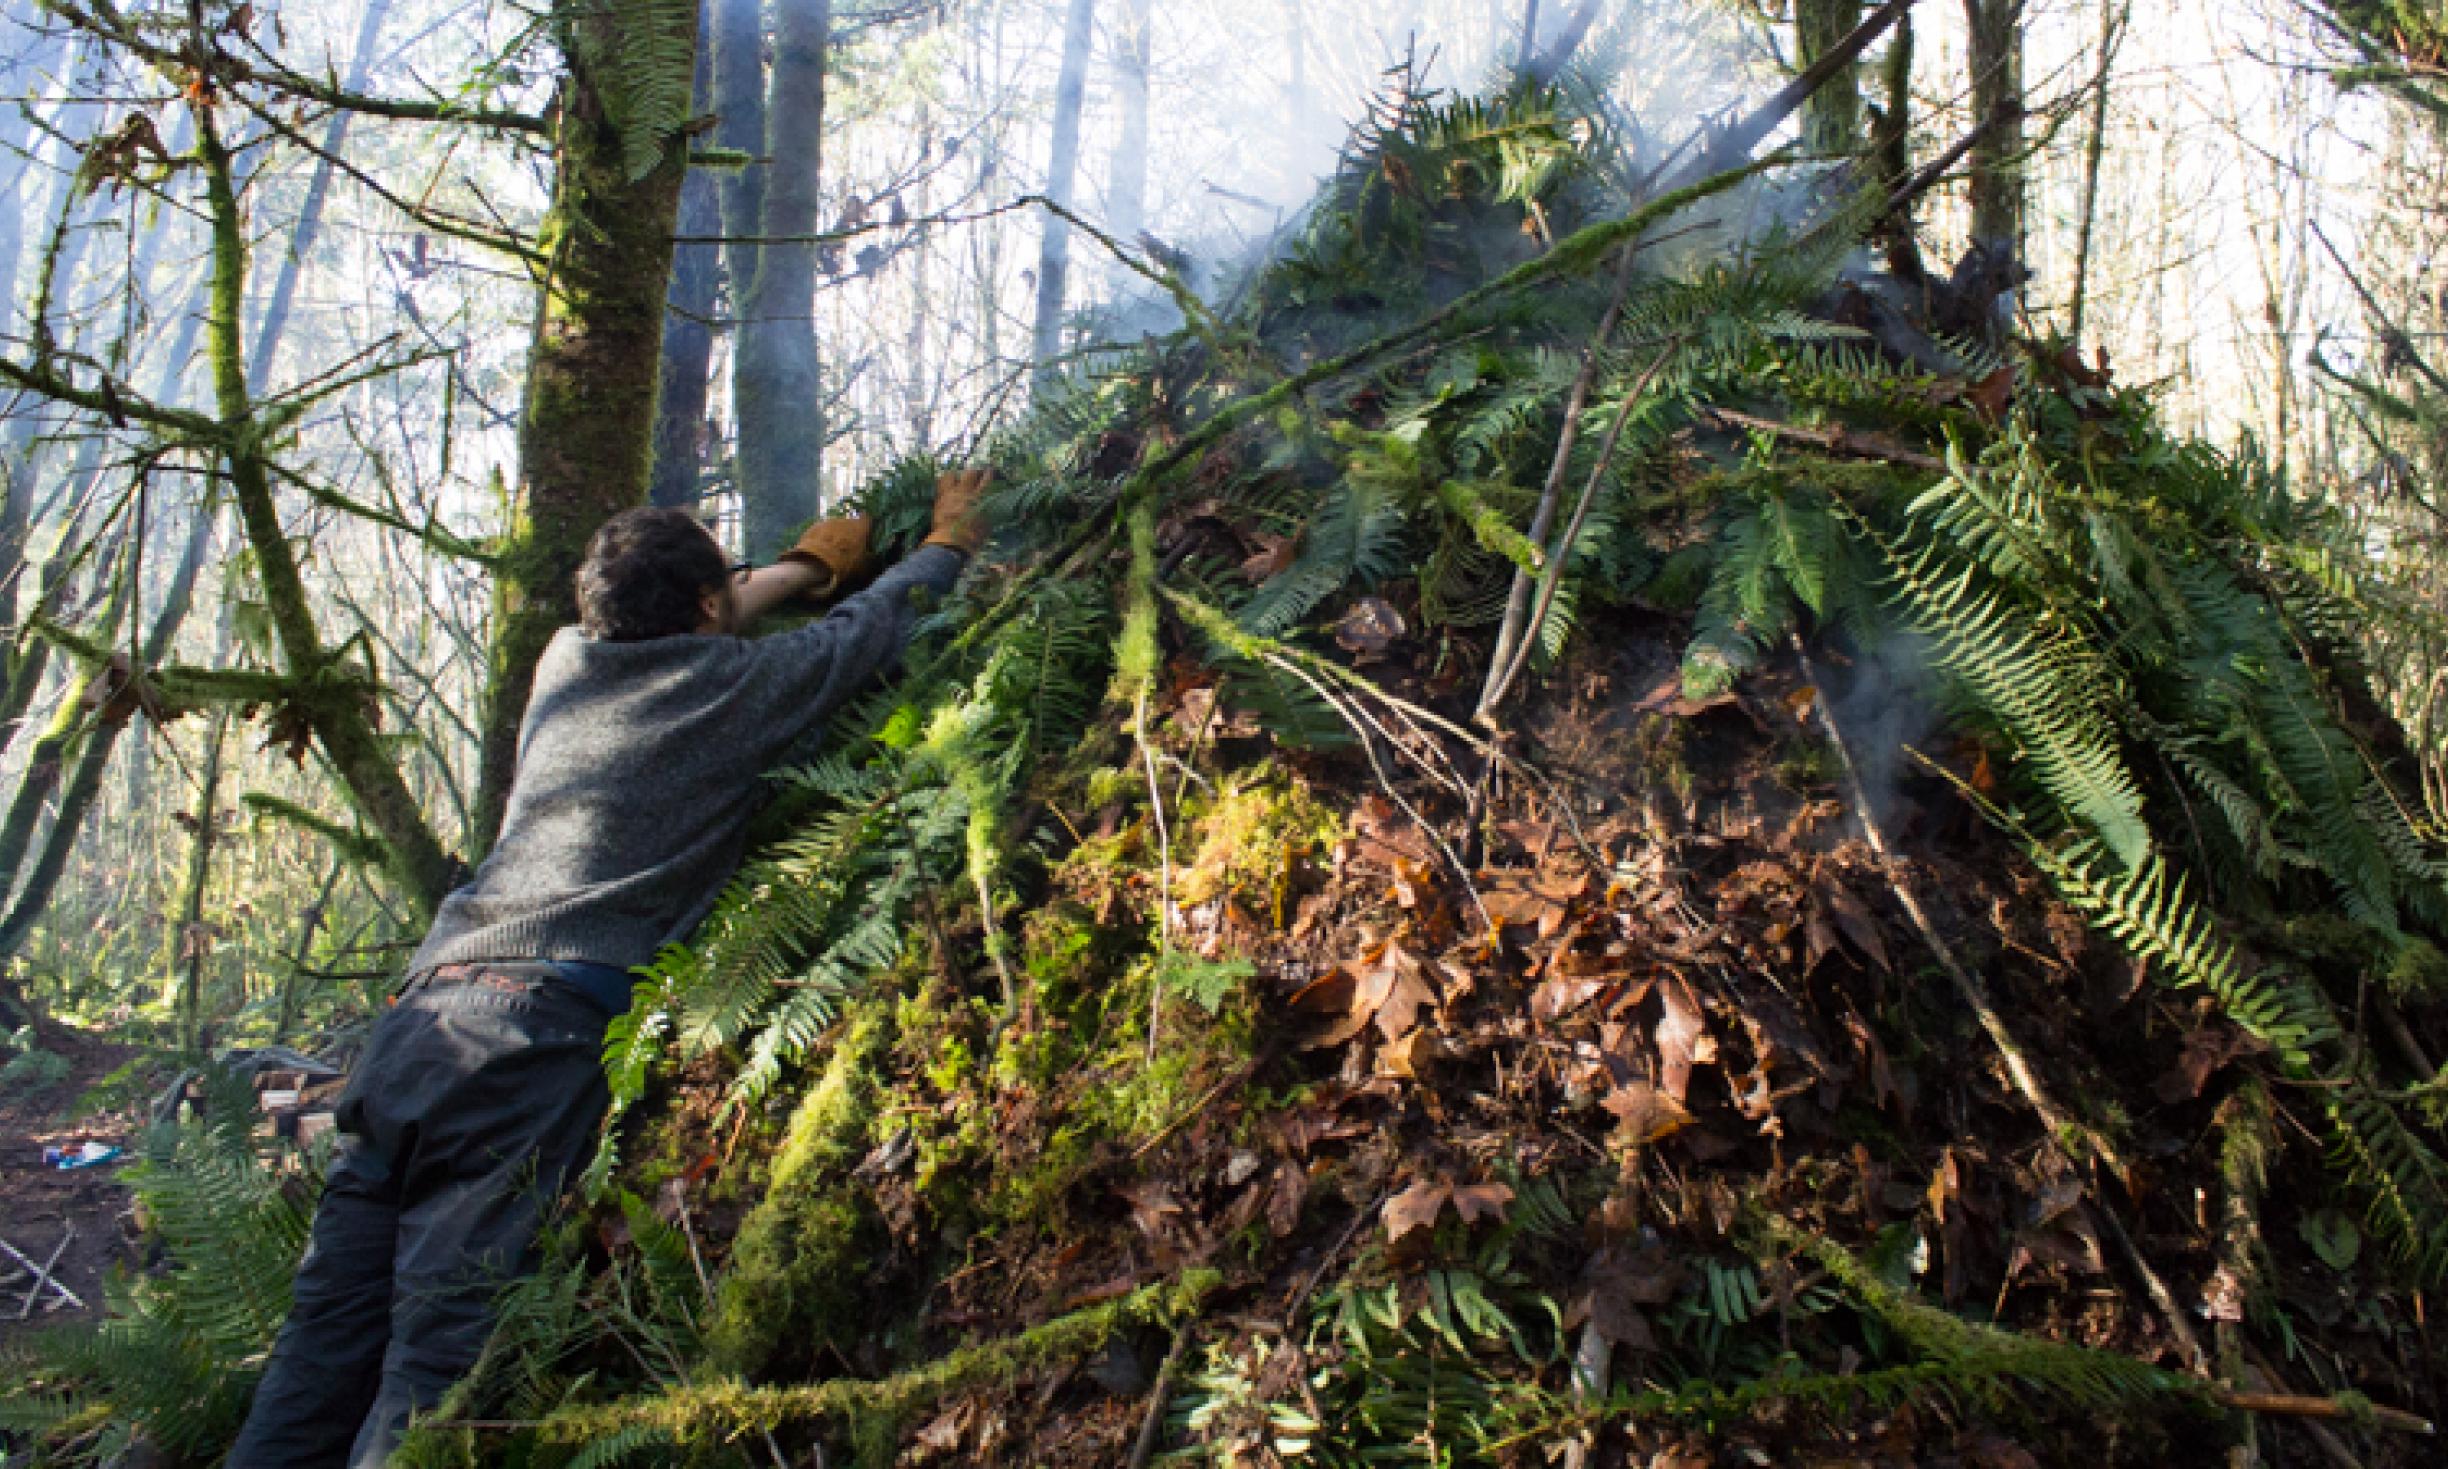
The structure is now in place and it is time for the essential component of insulation. Of all the things you’ll learn about how to build a survival shelter, not having enough insulation on a cold night will teach you quickly what is required. Get ready to shuffle your feet or make yourself a rake and start gathering debris! For good insulation, you’ll want material that can trap air. Obviously, dry material is optimal. Pile on your leaves, ferns, grass, or other available debris.
Keep piling, keep piling, aim for two feet thick – or more if you might get rained on. Be sure to close up the door area so that you have just enough room to squeeze in without disturbing the structure. Crawl in to see how your cocoon feels. Finish up your insulation by adding some small branches that will hold the debris in case of wind, maintaining as much loft as possible.
Now that the outer layer is complete, it is time to stuff your primitive survival shelter with dry soft debris. If you only have wet leaves, use them anyway, you may get wet, but you can still be warm. Once your shelter is full of debris, wiggle in to compress a space for your body. Add more debris as needed, and don’t forget the foot area! Fill up the spaces if you are concerned about being cold. Before you crawl in for the night in your primitive shelter, gather a pile of leaves near the door so that you can close yourself in most of the way.
Aside from having a great story to tell your grandkids one day — or from being able to teach others how to build a survival shelter, spending a night in a survival shelter like a debris hut is an opportunity to overcome fears and gain feelings of freedom and confidence. Pushing our mental and physical comfort edges also brings us chances to find greater comfort and appreciation in our daily lives.
HAPPY BUILDING AND SWEET DREAMS!
