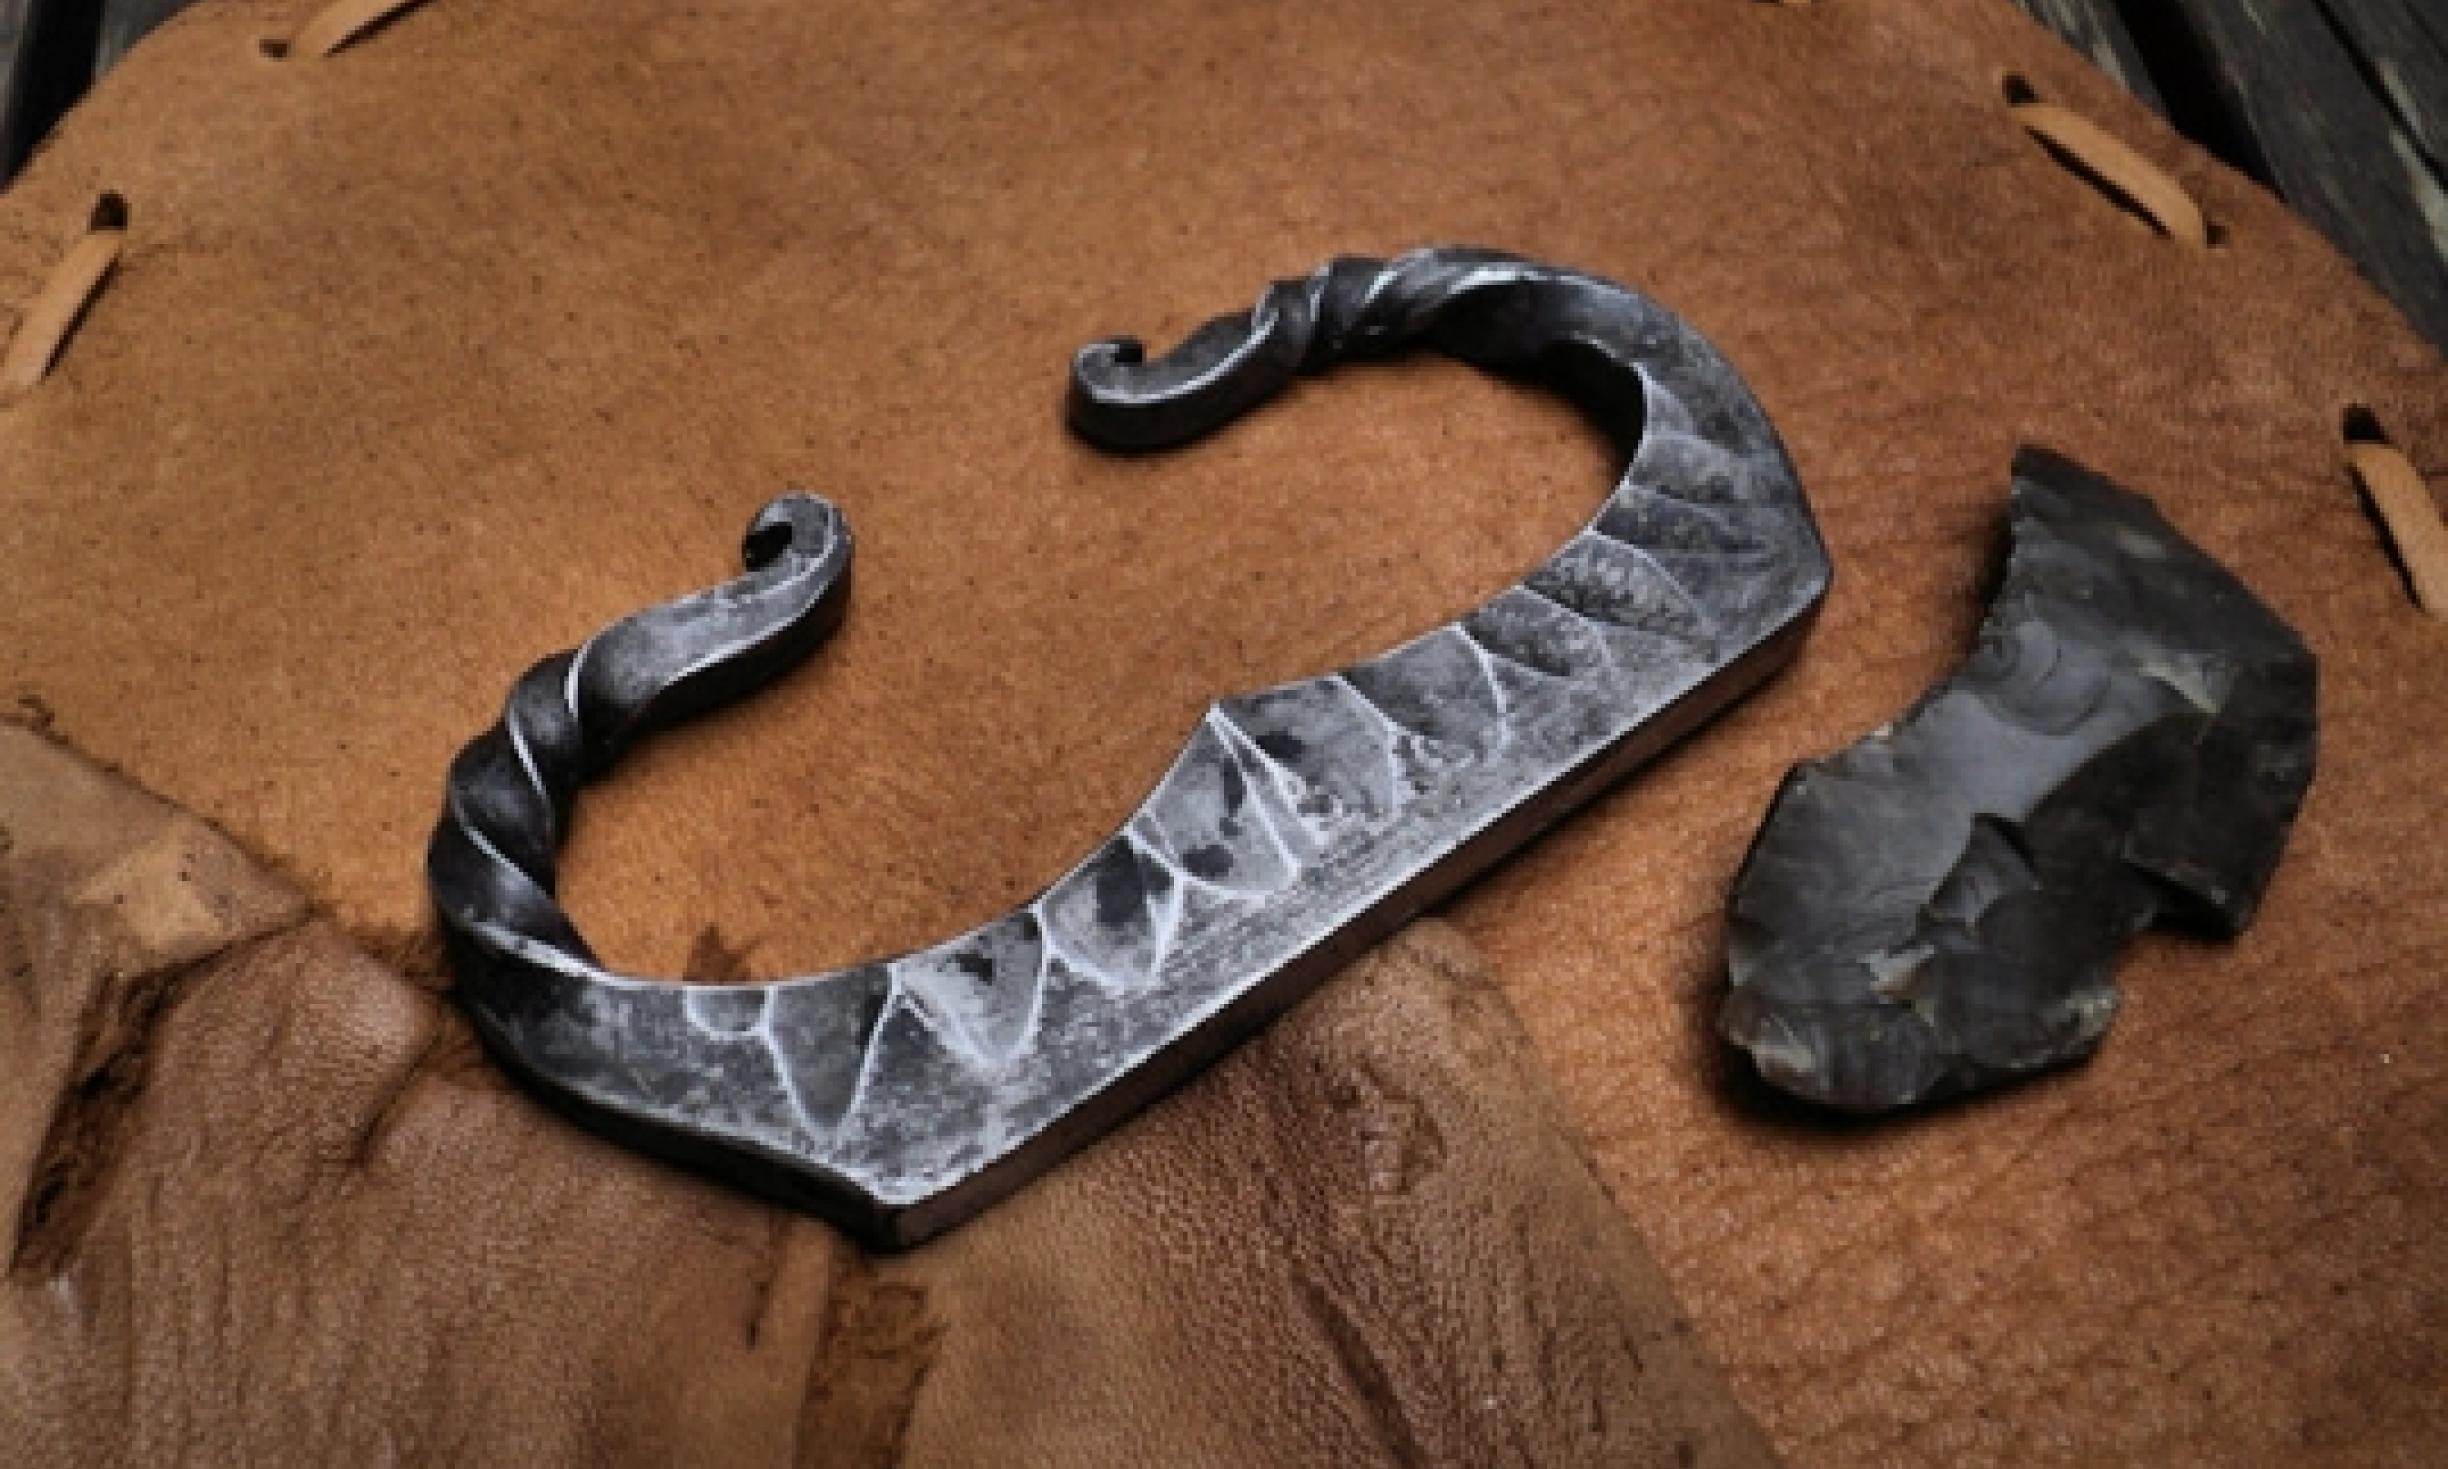
Flint and steel is a primitive fire-making technique dating back into the Iron Age when steel was first available for this simple and quite effective way to ignite fire. It was frequently used until more recent years, when matches were invented, making the flint and steel method obsolete. Yet there are many reasons why flint and steel should still be considered an important and reliable means of fire ignition by all outdoors enthusiasts. The materials resist moisture, and the method uses simple and easily replicable parts. Flint and steel fire-making is an efficient method with the right amount of practice. To begin making fire through the flint and steel method, you first need to understand the theory of how it works as well as acquire the necessary parts to a complete flint and steel kit.
Creating Your Flint and Steel Fire Kit
There are four parts to this kit: steel striker, flint, char-cloth, and tinder bundle. The pieces work like this: the steel striker is glanced off the sharp edge of the steel. This sheds heated pieces of steel—in the form of sparks—off of the striker. These sparks ignite the char-cloth, which smolders and is placed into the tinder bundle, to be blown into flame. This all takes only a matter of seconds with experience and a well-put-together kit.
These materials are very easy to find or make. The steel striker is a piece of high-carbon steel, formed into an elongated oval, with a gap along one of the sides. This allows the user to hold it with the complete side over the knuckles of a dominant hand and the gapped side clenched in the fist. This makes for a very efficient and accurate motion for striking the flint.
How to Use Flint and Steel
Traditionally, the flint is described as a piece of extremely hard rock. There are alternatives, however, and any very hard stone will work. Examples are quartzite and chert, both easily found throughout most of the United States. The piece should be sturdy, a quarter-inch to half-inch thick, with a sharp, acute edge that will shear away pieces of the steel. This edge occasionally has to be touched up—using pressure flaking—to regain its sharpness. At some point, after enough mass from the flint is removed, the piece is discarded for a new flake of sharp stone. The sharp edge is essential! The steel strikes the edge of the flint, which is pinched between the thumb and index finger of your other hand, at a 90-degree angle as it travels in and down across this sharp edge, shedding sparks downward.
These sparks are caught in the char-cloth, an essential part of this system. Char-cloth is essentially a thin piece of charcoal, produced by exposing cotton cloth to heat in the absence of oxygen. This is easily made by enclosing small swatches of denim, terry-cloth, or knit cotton cloth in a small tin can (Altoid cans work very well). It is important that the cloth you choose be made of natural fiber and not synthetic. Poke a hole in the lid of the tin with an awl to allow vapors to escape in the firing process, otherwise the lid will pop off and expose the burning cloth to oxygen. Once the tin is packed loosely, place it in a fire and heat it until the smoke coming from the hole ceases. Set the can aside to cool overnight. In the morning, you will discover that the cloth has turned black and is somewhat brittle. This is a char-cloth.
There are two styles of catching the sparks in the char-cloth. One way is the place a piece of cloth on a flat surface and strike above it, allowing the sparks to drop down and catch on fire. I personally find this method unreliable, as the sparks are sometimes hard to direct and the cloth can be damaged with a wayward strike. The second method is to fold the char-cloth over the edge of the flint, held in place by the two fingers pinching the flint. The flint is then struck through the cloth, with the sparks inevitably catching in the cloth that is blocking their descent.
Making a Fire
At this point, the small glowing ember that is slowly spreading through the char-cloth is placed in the tinder bundle. A tinder bundle is made of dry, fine materials of vegetable origin. Some examples are the shredded bark of cedar, juniper, cottonwood, and tulip-poplar. Other materials that work well are dry grasses, dead and fibrous stems of certain wildflowers, and even crumpled paper. The ember is placed in the center of this bundle that resembles a bird’s nest and enclosed by lightly squeezing the sides of the bundle so that the ember is exposed to as much flammable material as possible while still being able to breathe. Then, proceed to blow on the bundle, gently at first so that the material has time to warm up and so as not to burn out the ember all at once. When the bundle begins to pour forth large quantities of thick smoke, the intensity of your breath can be increased to the point where the bundle bursts into flame.
Flint and steel is an easy and effective way to start fires in a wilderness environment. The materials are easily made or gleaned off the land. Both the steel striker and the flint are not affected by moisture, and the char-cloth and tinder are easily stored in plastic bags to keep them dry. This gives the kit an advantage in damp climates, where matches deteriorate, soaked lighters quit and bow-drills provide challenges. The usage of the kit is mastered within the first several attempts (please practice before depending on this method in the wilderness) and is safe as well as fast. Speed is important, considering time may be of the essence. No survival kit is complete without the simple and reliable flint and steel!
