Harvesting black walnuts is enjoyable and well worth the effort. Black walnuts are very nutritious and delicious! This is a messy activity, so be sure to wear old clothes, old sneakers and cover your hands with gloves, unless you want to be dye-stained for several weeks.
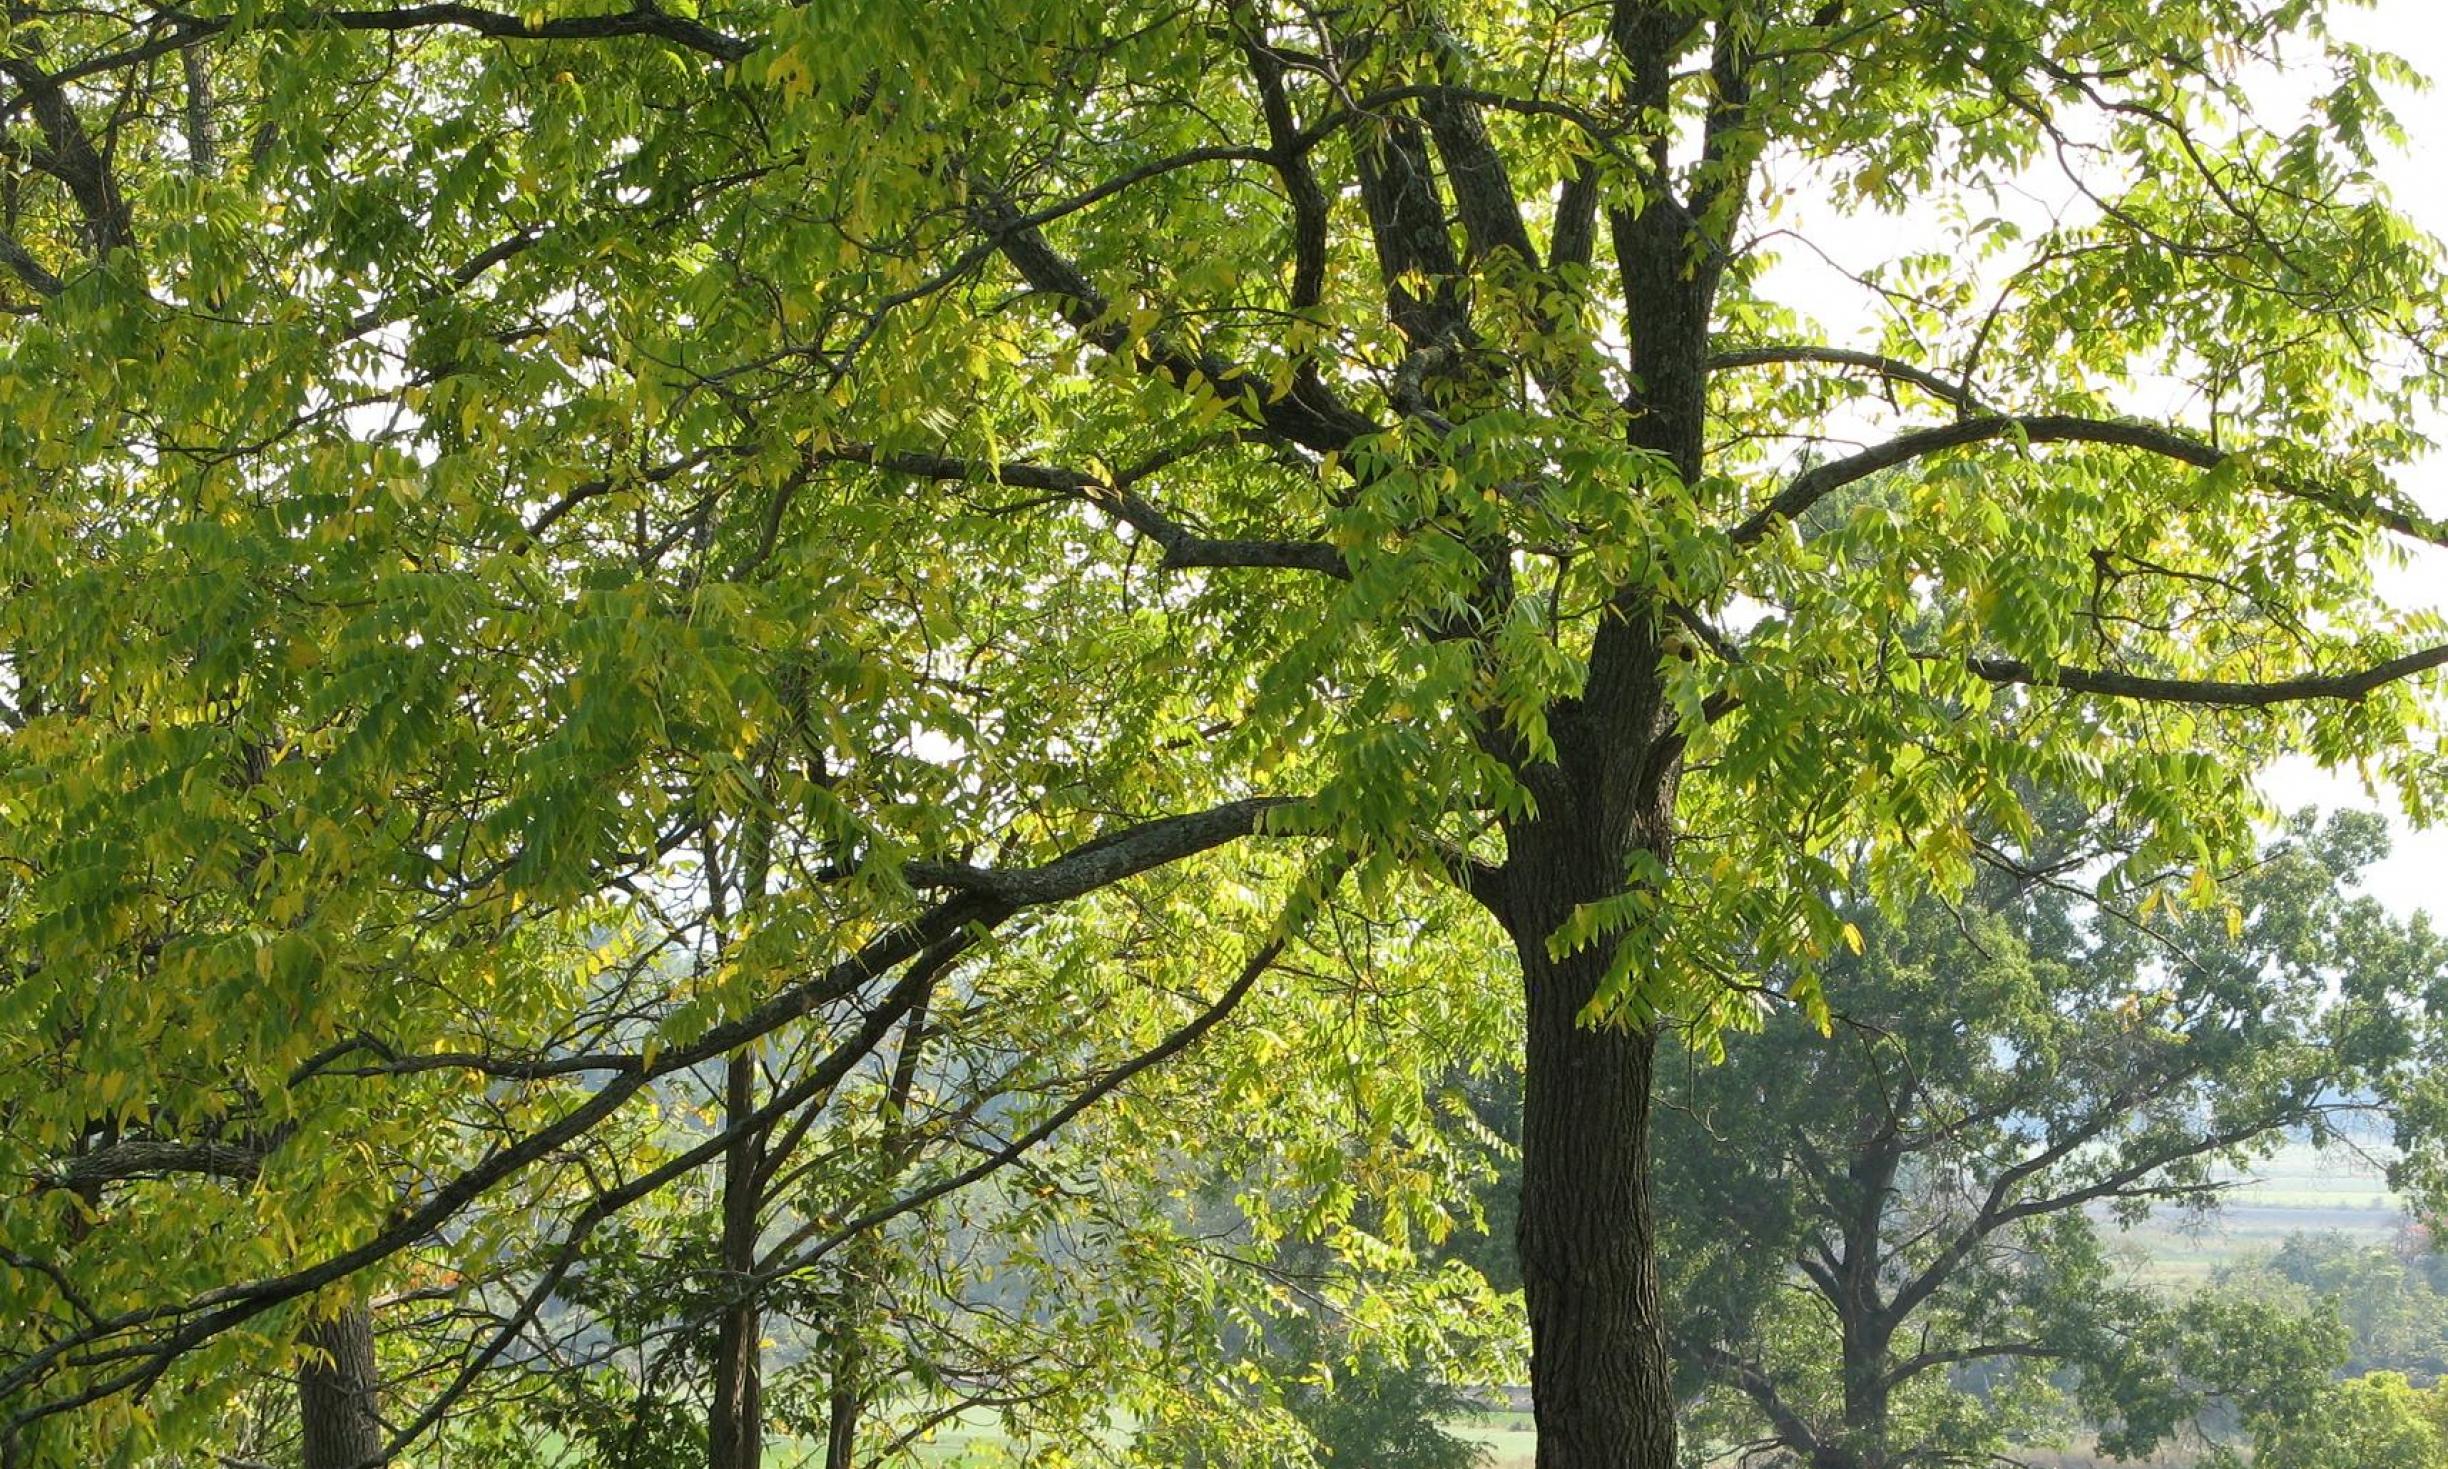
The black walnut tree is pictured above. Here’s a closeup of the branch and the nut:

If you have a paved, flat driveway and an area with a picnic table, it’s easier to clean a large number of black walnuts.
The instructions here for harvesting black walnuts come from my foraging buddy, George Johanson, who not only works hard to harvest these treats, but shares them with everyone he meets.
Materials:
- 2 pair of rubber gloves
- old clothes
- sneakers or work boots
- wire brush
- flat, black-topped area to remove hulls
- flat tabletops to clean shells
1. Look for mature black walnuts, preferably with green hulls. You can gather them from the ground, or in some cases, knock them from the tree branches. The nuts with black hulls are older and the liquid in some of these nuts may penetrate the black walnut shell, changing the taste. You may want to remove a few hulls and crack the black walnut open to ensure there is nutmeat.
2. Using your work gloves, gather a large number of nuts and spread them out on a flat, black-topped area.
3. Using your feet stomp and twist on each nut until the hulls come loose. Discard the hulls in a compost pile or in the woods.
4. Using gloved hands, spread the nuts out on a picnic table or large, flat area. Scrub each black walnut with a wire brush to remove the bits of hull wedged in the crevices.
5. Spread cleaned nuts out to dry so that they are not touching. If you are doing this outdoors, you need to be sure they are in a sunny spot, protected from animals.
6. Once the shells are dry, let the nuts cure for 5-6 weeks. You’ll notice that when you shell a fresh nut, the black walnut meat is rubbery. The curing lets the nutmeat get firm.
Gathering, hulling, and cleaning black walnuts (and butternuts, if you can find them) is labor-intensive. But once cleaned and cured, they will last for a year or more—if you can refrain from eating them that long.
On harvesting…
Despite wearing two gloves on each hand, I managed to puncture both layers with the wire cleaning brush. What I learned is that I need to replace my wire brush more frequently. Meanwhile, I have brown hands for the next couple of weeks.
To date, I have harvested over 500 black walnuts. I can clean 25 walnuts an hour.
I’ve been stomping hulls of walnuts while singing Peppermint Twist or Twist and Shout. I try to mash the nuts on the road where I find them.

Then the real work of harvesting black walnuts starts. I put on my gloves and load the hulled nuts into a bucket.

I grab a wire brush and head for the car wash to scrub the remaining hull material from the nut. I find that if I pick up nuts that have been hulled or if I hull them several hours before I clean them, that it’s harder to clean the nuts.

Here’s what my tools look like after cleaning 400 nuts. Note the missing wire brush bristles and the shredded gloves, as well as the cleaned nuts.

Next, the cleaned nuts need to be allowed to cure for four or five weeks. You can eat them now, but the texture is rubbery. They will taste much better a month from now.
I don’t have a way to keep the drying walnuts from predators, so I put some storage baskets to use in a new way.

I’m motivated to do this, in part because George Johanson gifted me a walnut cracker. I now understand why black walnuts are expensive to purchase.
Harvesting black walnuts is hard work, but the quality of what I get to eat makes it worth the effort. There is simply no substitute for nutritious food.