I remember the first time I tried to make a bow and arrow. There was a wind storm and many branches were down from the large black oak trees in my backyard. I picked up a stick and ran to get some string from the house. Then I looked for a shorter, straight branch.I took the “arrow” and placed it on my bow. As the wood flexed it built up force. 3, 2, 1, twang. It worked! The arrow flew almost 15 feet. That was incredible! I went to try it again. The second attempt was equally exciting, but in a different way. SNAP! All that hard work for nothing. Did I mention I was 9 years old?
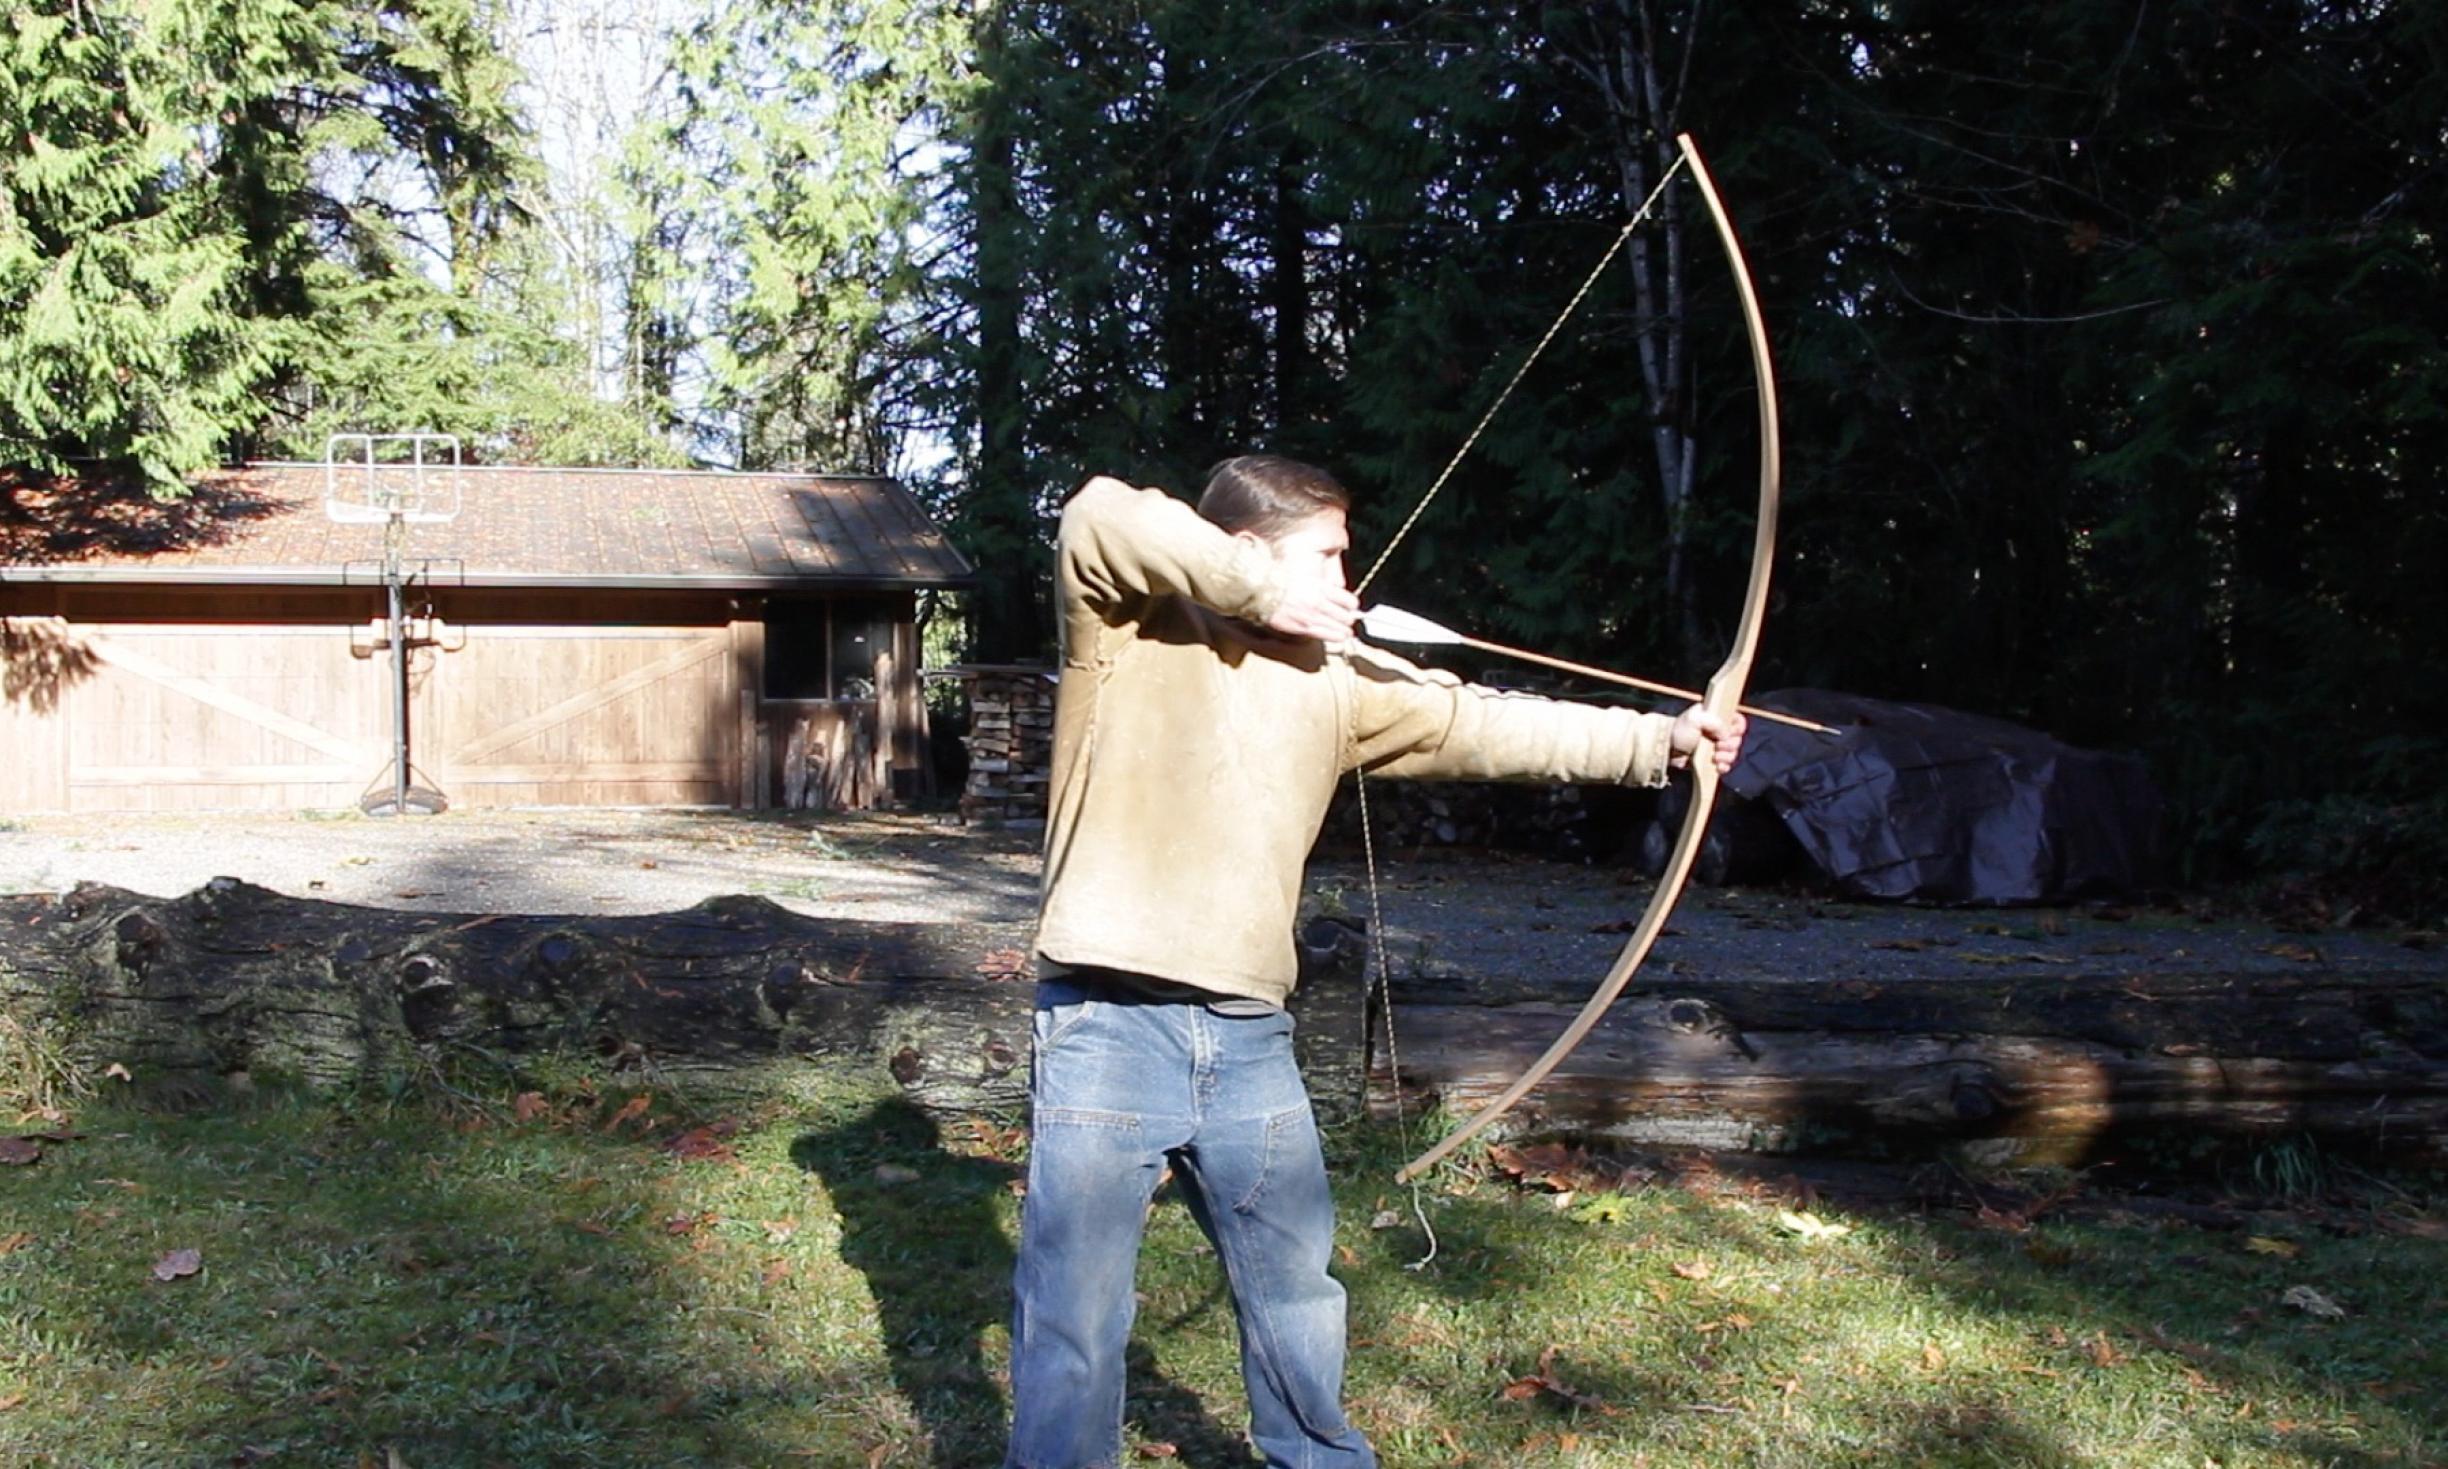
Since those early days of breaking bows as a kid, I’ve spent a little (actually a lot) more time gathering branches, tree limbs, and trees to make a bow and arrow. In some ways, making a wooden bow is easy. You gather a piece of wood from a flexible, dense tree and remove a little wood from the thick end, attach a string, and you are done.
But bowmaking can also be really complicated. What’s the difference between reflex and a recurve? What about the best dimensions for the species of wood you are using? Do you have to use yew or osage orange? Isn’t it expensive to do all of this?
It can be, but I will show you the simplest way to make a bow and arrow with the least amount of cost and tools. You can always do more than this, but sometimes it’s nice to start simple. Right?
There are dozens of books out there on this subject. Some of them are excellent, others are amazing for helping cure insomnia. My goal with these articles is to break this process down to the bare essentials.
Here’s an overview of the process:
- Gathering a bow stave
- Drying your bow stave
- Roughing out your bow
- Laying out your bow
- Making a bow string
- Tillering
- Finishing
- Harvesting and Making Arrows
Gathering a Bow Stave
Tools needed: hand saw
The biggest myth in bow-building is this: you have to use osage orange or yew (English or Pacific). While these do indeed make outstanding bows, they are rare and expensive (yew) or just aren’t found in your area.
When you realize that literally any wood will make a bow, it frees up the possibilities. Now when I say any tree will make a bow, that doesn’t mean you can make a bow out of any tree species on your first go. There are lots of good woods that will give you a better chance at “success”.

Here are some species to explore:
- Osage orange
- Yew
- Black locust
- Oak
- Ash
- Hickory
- Elm
- Mulberry
- Maple
- Cascara
- Ironwood
There are lots of other trees just begging to be used, but these are good ones to start with. Once you identify a tree or two go for a walk in a forest. Make sure you have the right to be there. Logging on private property is not good for your bow making karma.
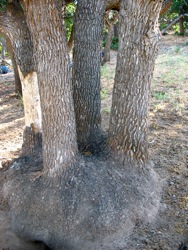
Look for a tree or branch that is at least 4” in diameter. This will ensure that the back of your bow is relatively flat (more on that later). Personally, I try to never actually kill a tree. I am always looking for “V-trees” that have a fork in their growth habit. Then I take the smaller of the two splits. That way I don’t kill the tree. You can also harvest from species that have many stems growing in a cluster. English yew grows in this pattern.
In your first few attempts, I recommend practicing by making mini-bows – roughly 12-18″ long. You’ll learn a lot, and if you make fatal mistakes it will not be as big a deal.
Gather the straightest, tallest, knot-free section possible. This can be easy or it can be really tricky. It’s ideal to gather a bow stave as tall as you are PLUS one foot. This will allow for a little extra wiggle room if your stave warps or cracks when it dries.

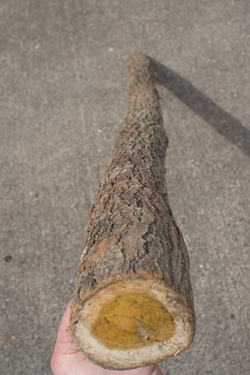
When you get home, coat the ends with glue or paint. Most of the drying takes place on the ends of the branch. Think of wood as hundreds of straws compressed together. The water flows out of the ends, but not as much along the length of the straw.
At this point, you can leave it in a cool, dry place for about a week. Wood loses lots of moisture at this stage and is susceptible to forming small (or sometimes BIG cracks). This is called checking. It is caused by wood drying at unequal rates. Wood on the outside is exposed to heat and ventilation, causing it to shrink. Wood on the inside doesn’t budge. Voila! Your wood starts to crack.
Sometimes checking is not a big deal, other times it will turn your bow stave into kindling. Some woods really want to check (osage orange, locust, and ocean spray among others), while others are not likely to crack.
Drying Your Bow Stave
The second biggest myth in making a wood bow is that it takes at least a year to dry wood.
You can certainly harvest a piece of wood and leave it in your garage for 1, 2, or even 3 years. That is no guarantee that it will be totally dry. If it is a huge log left in a humid environment, it could still be way too wet to make a great wood bow. I’ve actually dried wood in less than a month. You can do it in less time, but I live in a humid, temperate rainforest.
There are two goals with drying wood: 1) You want it to be about 8-10% moisture content (I’ll explain a super simple way to measure this) and 2) You want it to survive the quick-dry method (you don’t want warping or cracks to appear in your wood).
So how do you do it?
Well, it’s actually really simple. The thinner the wood, the faster it dries. Makes sense, right? Once you gather your tree branch you need to coat the ends with glue (Elmers works fine) and then you need to rough it out so it is a lot thinner.
Spitting and Roughing Out Your Bow Stave
Tools needed: metal wedges, sledgehammer, hewing hatchet, machete, or drawknife
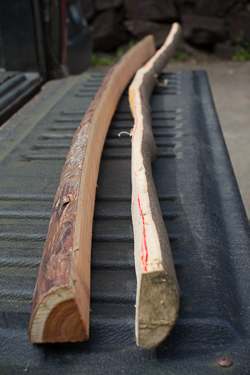
Okay. We now have a bow stave that has been sitting in a cool, dry place for a week. Split your bow stave in half. Get out your wedges and sledgehammer (and some ear protection). I’ve found that if you start your split in the middle of the stave that it will come out better than if you start at one end. Work your way until it is split in half.

Splitting by hand will allow the natural grain of the wood to be apparent. If the wood looks like it is spiraling, then it might be toast. About 45 degrees of twist over 6 feet of length can be tricky to deal with. It’s still possible to make a bow, but it’s going to push your skills. For this first bow you want to go easy on yourself.
Once it is split, it is time to narrow your stave until it starts to look like a bow. I like to use a hewing hatchet (a hatchet that is flat on one face), but a machete can also work. Your goal here is to remove wood on the sides of the bow until it is roughly 2 inches wide. One of my favorite ways to do this is by using a 72-inch straight edge. They are typically 2 inches wide. Simply lay the straight edge on the belly (the flat, newly exposed center of the tree) and trace the edge on either side. Use your tool to remove all the extra material outside the lines. Using a straight edge ensures that your bow is straight, which is important in the early stages of making a wooden bow.
Now it’s time to remove the outer bark. The outer bark is an excellent waterproof layer. When we’re trying to dry wood, it is not very useful to us. Do this with a sharp knife or a drawknife. ONLY remove the outer and inner bark. Go slowly until you get a good feel for it. Note: If you harvested your bow stave in the spring or summer and the sap is flowing, you might be able to simply peel off the outer bark. Give it a test and it will save you some work.
Once the bark is removed, it is time for the last step before your wood is ready to fully season: reducing the thickness of your bow stave. This is best done with an axe, machete, or a drawknife. The goal is to reduce the bow’s thickness so that will dry quickly without checking and warping. For most woods, 3/4 inch is a good thickness to shoot for. The only place to leave thicker is the center ten inches of your bow. This will be where your handle lies and can be 1 1/2 inches thick.
Now that you have narrowed and thinned your bow, it is time to bring it into a location with about 70 degrees and 50% humidity. Hmmm. Where could that be? Your house! If you want to be scientific about the process, go to your local hardware store and buy a thermometer and humidity meter (hygrometer) for $12. Humidity of about 50% will yield a bow that has about 8-10% moisture content. Perfect.
How do you know when it’s done? If you have a scale that can weigh up to 5 pounds then you are in luck. Weigh your bow every couple of days. When it stops losing weight for a week straight, you are ready to move on to the next step. Nice job for making it this far!
You now have a piece of wood that is ready to start bending.
Part 2 of How to Make a Bow and Arrow will dive into laying out your bow, tillering, and finishing.
Ready for Part 2? Click here
