Before the use of metals, stone was the primary material used to create cutting tools. Stone was shaped to create knives, arrowheads and spearheads, drill points, and hammers using a technique called flintknapping. This method of turning raw stone into effective and often beautiful tools is based on the predictable manner in which stones break. All stones, when clear of any impurities, will fracture in a particular way when struck or pressed with enough force. When this pressure is applied to a stone, the force travels through the material in a cone shape, called a Hertzian cone. Because glass fractures in a similar way to stone, the Hertzian cone can be observed where “BB’s” have struck a plate-glass window, leaving a larger exit hole than the entry hole. Flintknapping takes advantage of this phenomenon. Material selection, knapping tools, and technique also play large roles in successful flint knapping.
Although all stone fractures the same way, not every stone is appropriate for every tool. Soft stones such as sandstone and shale are not durable enough to keep a sharp edge for cutting tools and are better suited to be made into blunt, heavy tools such as hammerstones, and mortar and pestles. Hard stones with large grains such as granite are also inappropriate as cutting tools, because their texture does not allow for fine, sharp edges. Stones most often used as cutting tools are flint, chert, obsidian, jasper, and novaculite, to name a few. These stones share the quality of a fine grain, so when fractured, they create a very sharp edge, and the force applied to the stone runs through them smoothly. The extremely sharp, yet brittle-edged obsidian works well for arrowheads and knives meant for cutting soft material such as meat, leather, or cordage. Flint is best used for woodworking tools, due to its durable edge. Very hard stones such as basalt make fine axes and adzes, where the tool’s purpose is to strike hard material—such as wood—and an extremely durable cutting edge is required.
Safety Precautions
There are many tools involved in the shaping of stone, including safety tools. Safety glasses, gloves, and footwear should be worn at all times. In the process of fracturing stone, sharp flakes can fly in many directions, endangering your eyes, feet, and hands. For this reason, you should also have a designated place to practice your flint knapping, where sharp waste material can be easily cleaned up and is out of the way of regular foot traffic. A tarp laid down is a way to ensure easy cleanup. You want this workspace to be well-ventilated, preferably outside. Every time a stone fractures, microscopic razor-sharp particles are put into the air and can cause severe respiratory problems. A first-aid kit also is important. It’s also necessary to have two different sizes of thick leather pads. One pad should be the size of your palm and is used to hold your material during the pressure-flaking process. The other pad must be large enough to cover the top and outside of your thigh while you are percussion flaking.
Flintknapping Tools
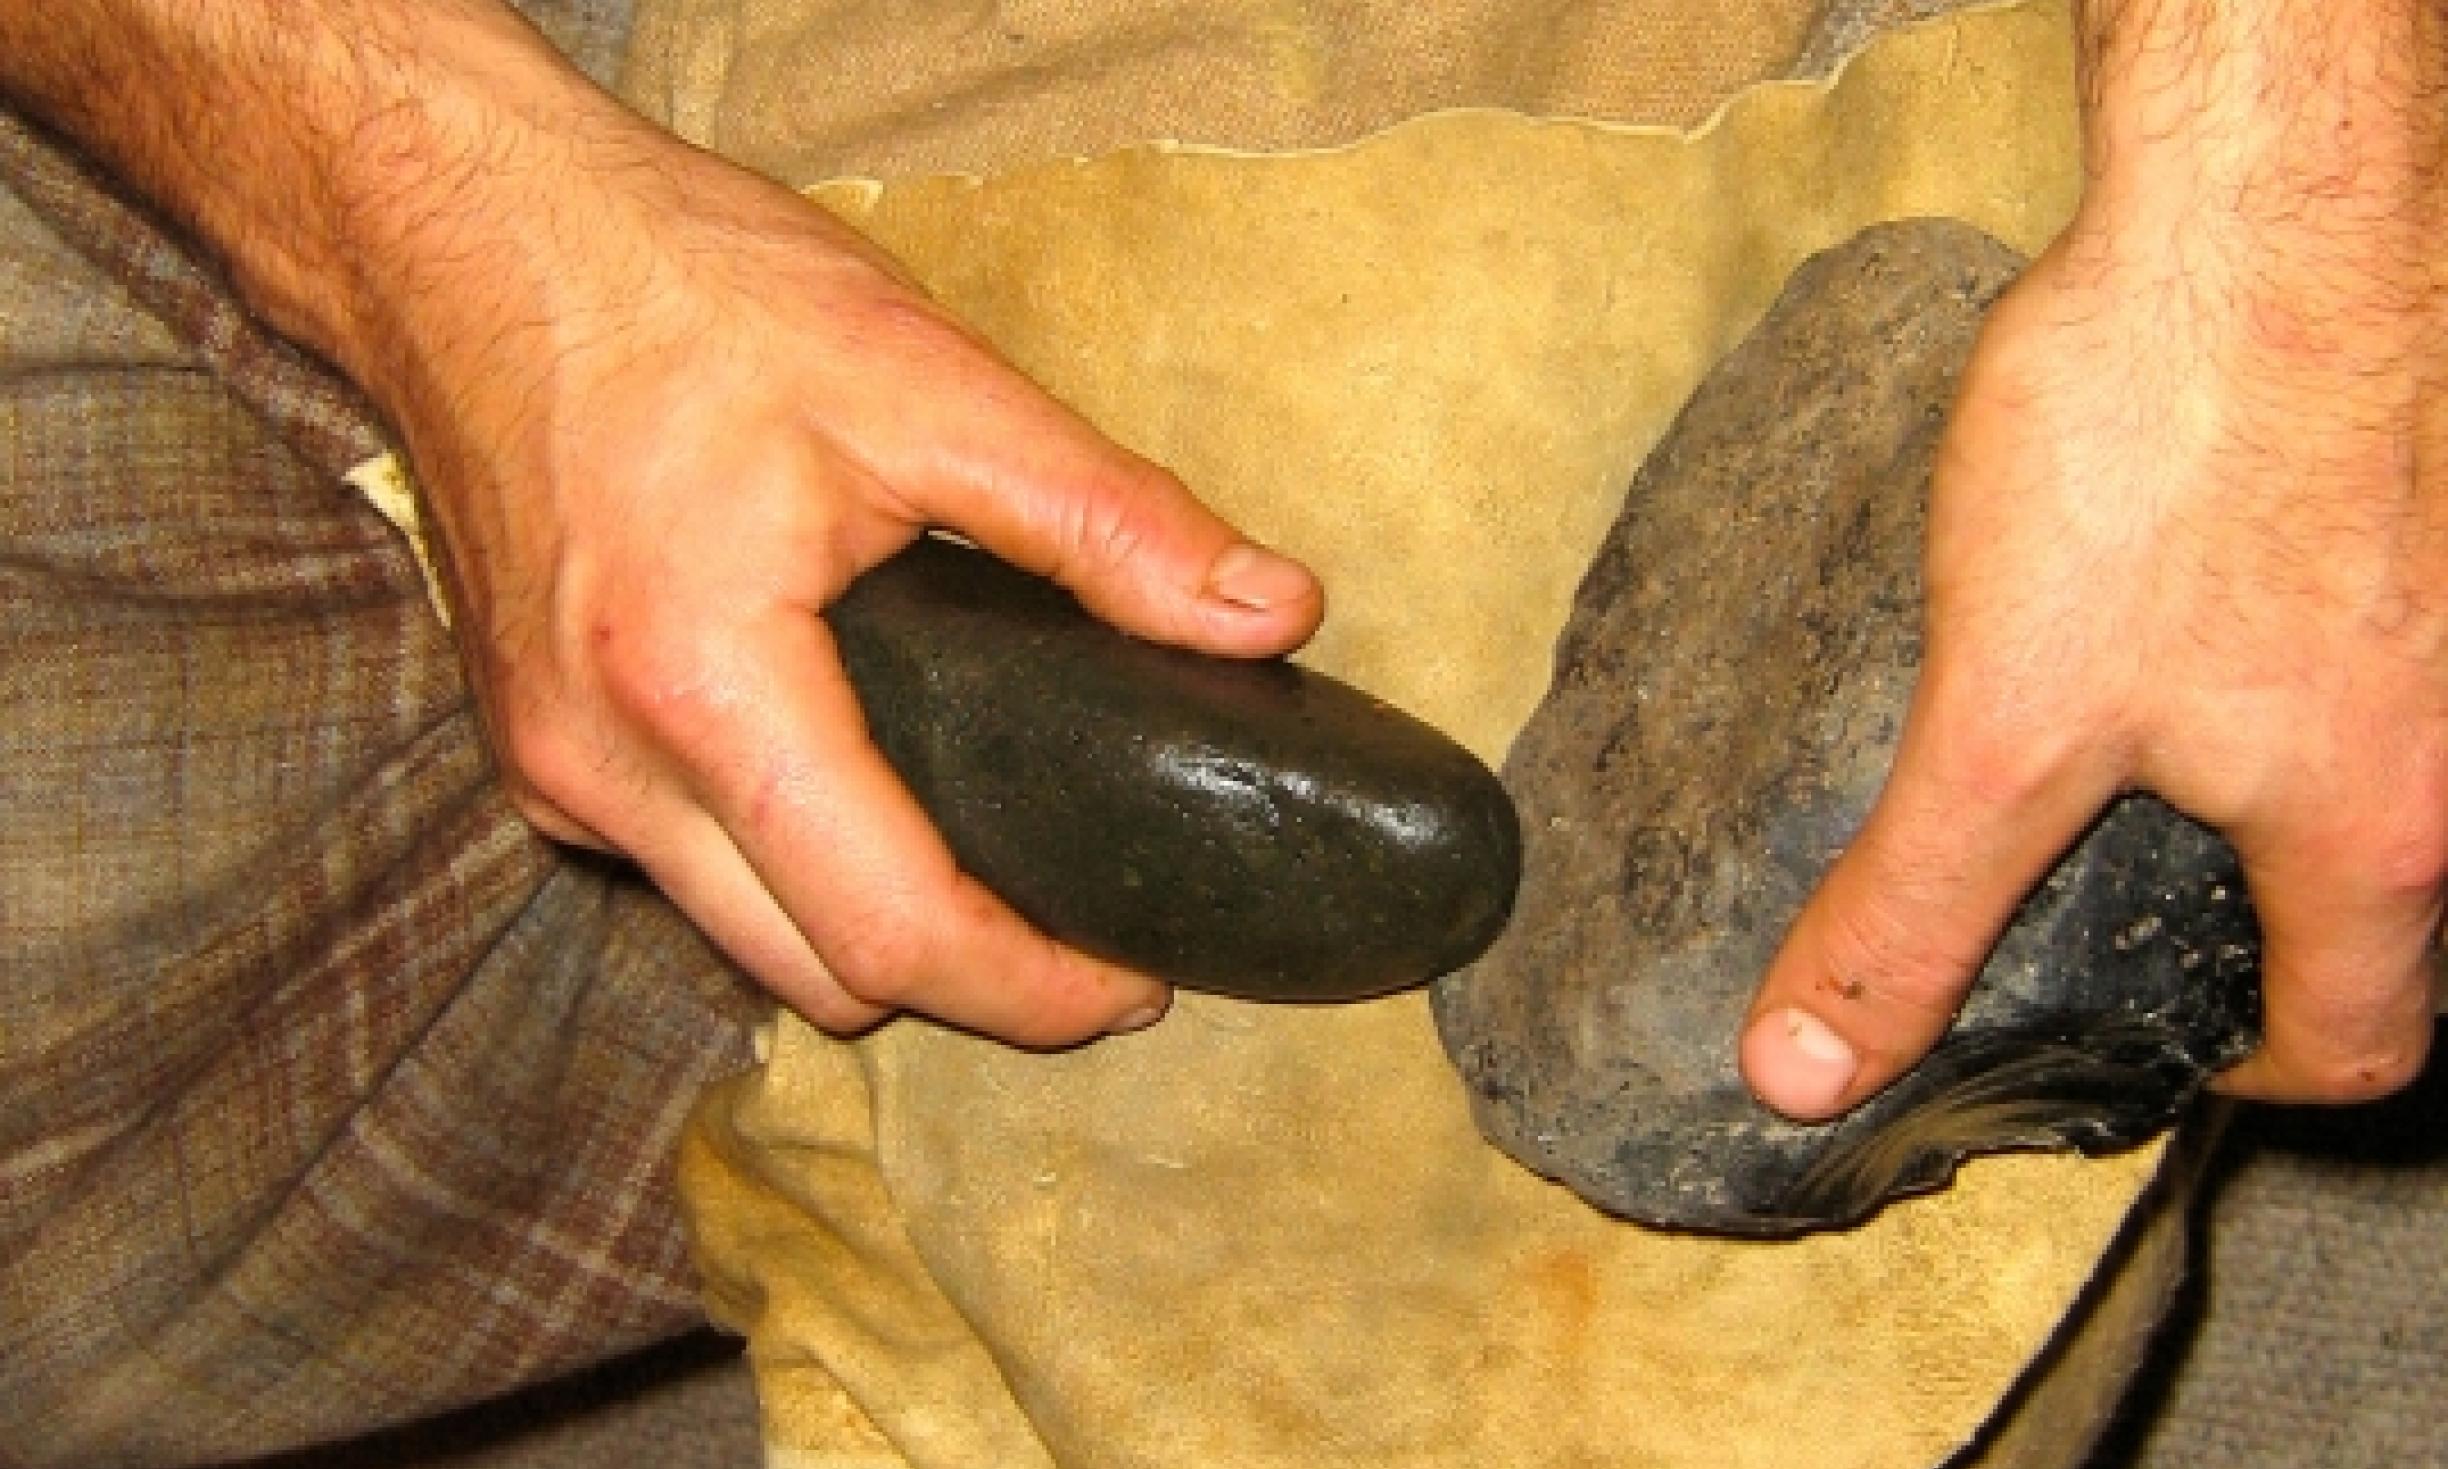
Flintknapping tools can be divided into two classes. The first is tools used for striking, a process known as percussion flaking. These include hammer (round, dense) stones and billets. Billets are long, heavy and cylindrical, and are made of antler, copper, stone, or very hard wood. The second class of tools is meant to apply pressure when practicing a technique known as pressure flaking. The two tools in this class are the pressure flaker and Ishi stick. The pressure flaker can be an antler tine or a copper nail set into a wooden handle that is roughly the length of your palm and comfortable to grip. In any case, the sharp tip must be made of a semi-soft material so that it will grip the edge of the stone. The Ishi stick is a long, somewhat flexible stick with a copper nail set into one end. This tool allows you to apply more pressure to the edge of the stone through added leverage, and its flexibility lets you remove longer flakes.
Flintknapping Techniques
Your flint knapping technique and form are just as important as your tools. Sit so that your back is straight and your knees are bent at a right angle. To begin striking or pressuring your stone material, you must find a corner edge that is less than 90 degrees. A corner that is 90 degrees or more will not fracture easily or at all. The place you strike is called the platform and should be isolated from the surrounding corner by removing a little material around it, thus making the platform more prominent. The stone should be oriented so the platform is located below the centerline. This is how you manage to control the Hertzian cone. If the platform is below center, only a portion of the cone will enter the stone, shearing away a flake off of its surface. If the stone is struck above center, the entire cone will enter the stone and break it into three pieces. The platform, when possible, should be positioned over a ridge on the surface of the stone. The force applied to the stone travels best along these ridges, and allows larger and more predictable flakes to be driven off. To be consistent, your tool should always be moved to strike the stone in the same position on your body, whether it is on your thigh or palm. This allows you to be very accurate in striking by knowing where your tool is going to touch the material each time.
Once you acquire the appropriate materials and begin perfecting your technique, it won’t be long before you start turning out useful and aesthetically pleasing stone tools. Amazingly, the tools you produce replicate tools made by our ancestors, who used the same flint knapping techniques. The ability to understand and utilize this technology connects us to these past generations through a common language—the language of stone. You begin to understand your ancestors more as you understand the abilities and limitations of stone. Flintknapping is a technology that will bring you closer to your roots as a human being.